It's simple to create and manage users. Assign roles with varying permissions to your users simplify your practice workflow
Manage Users
Add a new user
- To add a new user, navigate to the Location Settings menu item
- Select the "Add User" button

- Enter an email address, name, and role

- Save the user by pressing "Add"
- Ensure that the user gets their set password email

If the user does not receive their set password email, select the email icon on the user row to resend the set password email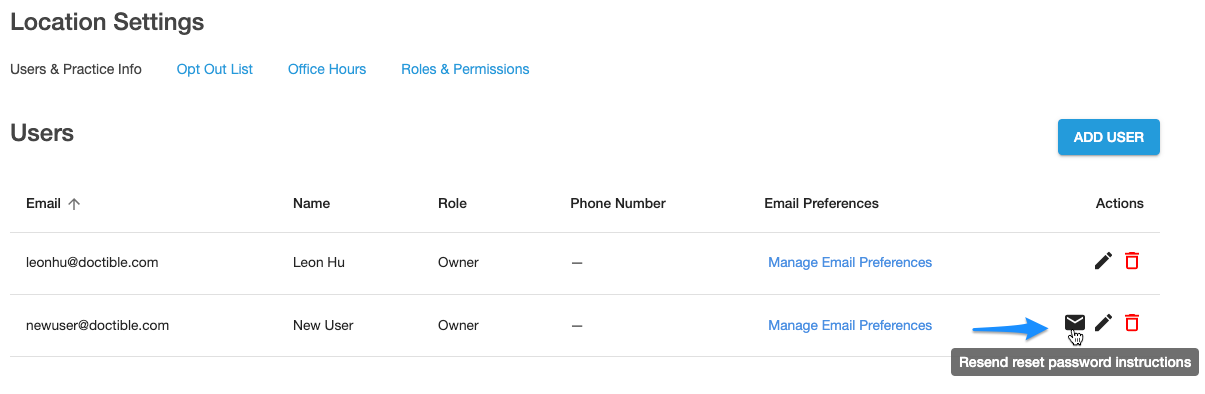
Delete an existing user
- To remove users, select the delete icon on the user row

- This action cannot be undone, so be sure that this is a user you want to remove

Manage Roles & Permissions
Create a new role
- Navigate to the Roles & Permissions page

- Select "Create New Role"

- Assign a name and permissions to the role
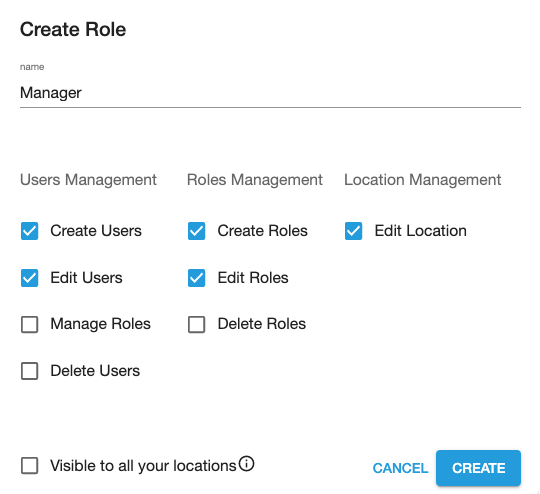
For multi-location practices, decide whether you want this role to be available at all locations or only at the current location- Save your new role by selecting the "Create" button
Add or remove permissions from roles
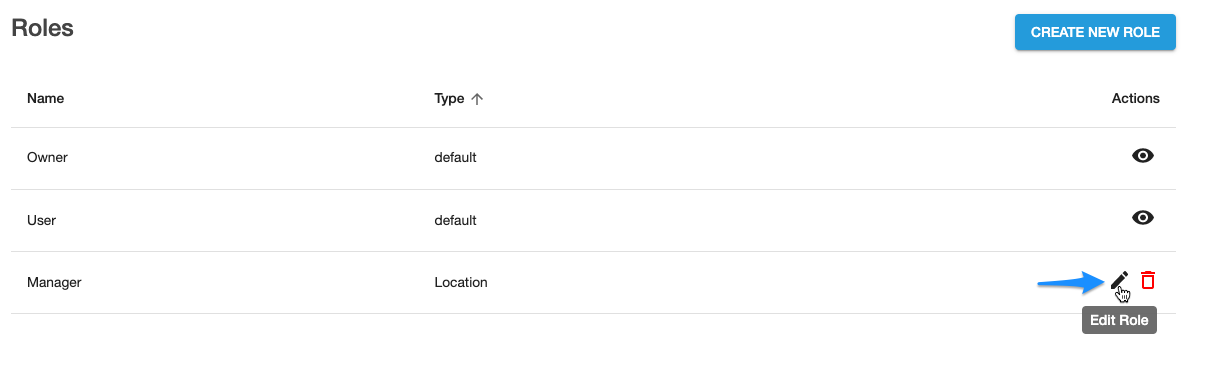
- Select the edit icon on the role row
- Update permissions by checking or unchecking permissions

- Save your updates by selecting "Update"
View permissions for existing roles
- To view permissions for roles that you cannot edit, select the view icon


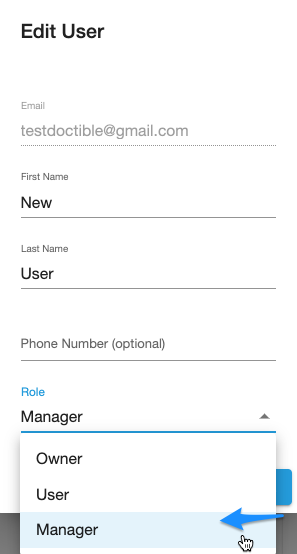
Assign roles to users
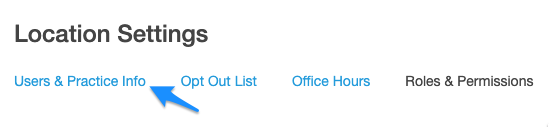
- Navigate back to the Users & Practice Info page
- Select the edit icon on the desired user row

- Select the Role dropdown and update to your newly created role
Was this article helpful?
That’s Great!
Thank you for your feedback
Sorry! We couldn't be helpful
Thank you for your feedback
Feedback sent
We appreciate your effort and will try to fix the article